Showing posts with label diy. Show all posts

Monday, June 24, 2013

DIY: Six Ways to Style Our Outgrown Bangs

Now I don't know about you, but I am getting sick and tired of having hair on my forehead at all times. It's going to be summer soon and what better way to beat the heat than to get those pesky hairs off your face! Here are six ways in which I found the cutest and most effect ways to style your long fringe.

One: The Top Knot


This hair style is simple and beautiful. It's extremely easy to do as well. First, flip your hair over your head and gather into a high ponytail on the top of your head. Tease the base of the pony tail to add some texture and volume. Wrap the hair closest to your head around your hand making a loop. Take the tail end of your hair and pull it through the loop. Pull tight and fasten with bobby pins.

Two: The "Princess Jasmine"


All you head is an elastic headband! Place the headband loosely around your head like the photo above. Twist your bangs as tight or as loose as you want. Begin to tuck it above then under the headband. Keep tucking the hair all the way around your head. Fasten with bobby pins if necessary.

Three: Fishtail Bangs


Everyone and their mother seems to be feeling the fishtail braid lately. If you don't know how to do a fishtail, check out this video before attempting the hair style. Part your hair where you desire. Grab the top of your bangs and begin to braid adding pieces as you move down toward your ear. Finish it off with an elastic or bobby pin it to the side of your head and voilĂ !

Four: The Sienna Miller


If you like having your hair down and want an edgy touch to it, this look is perfect for you. Start by gathering the front half of your hair. Start by parting your hair behind your ears and up. Tease the hair and throw it up into a messy bun or even a top knot. Super easy.

Five: The Wrap Around Pony


Part your hair and start twisting your bangs away from your face. Grab hair as you work down toward your ear, then back around your neck. Fasten with an elastic and you are all done!

Six: The "Rocker" Up Do


Back comb your bangs (a lot) and create a pompadour on the top of your head. Fasten with bobby pins. Grab the remaining hair and pull it back into a not-so-neat ponytail. Tug at the sides of your hair to make it look fuller. This one is my favorite!

Currently listening to:

Thank you Hailee for letting me attack your head for the sake of this blog. You're a trooper.

*Photos by me

Tuesday, June 18, 2013

DIY: High waisted shorts

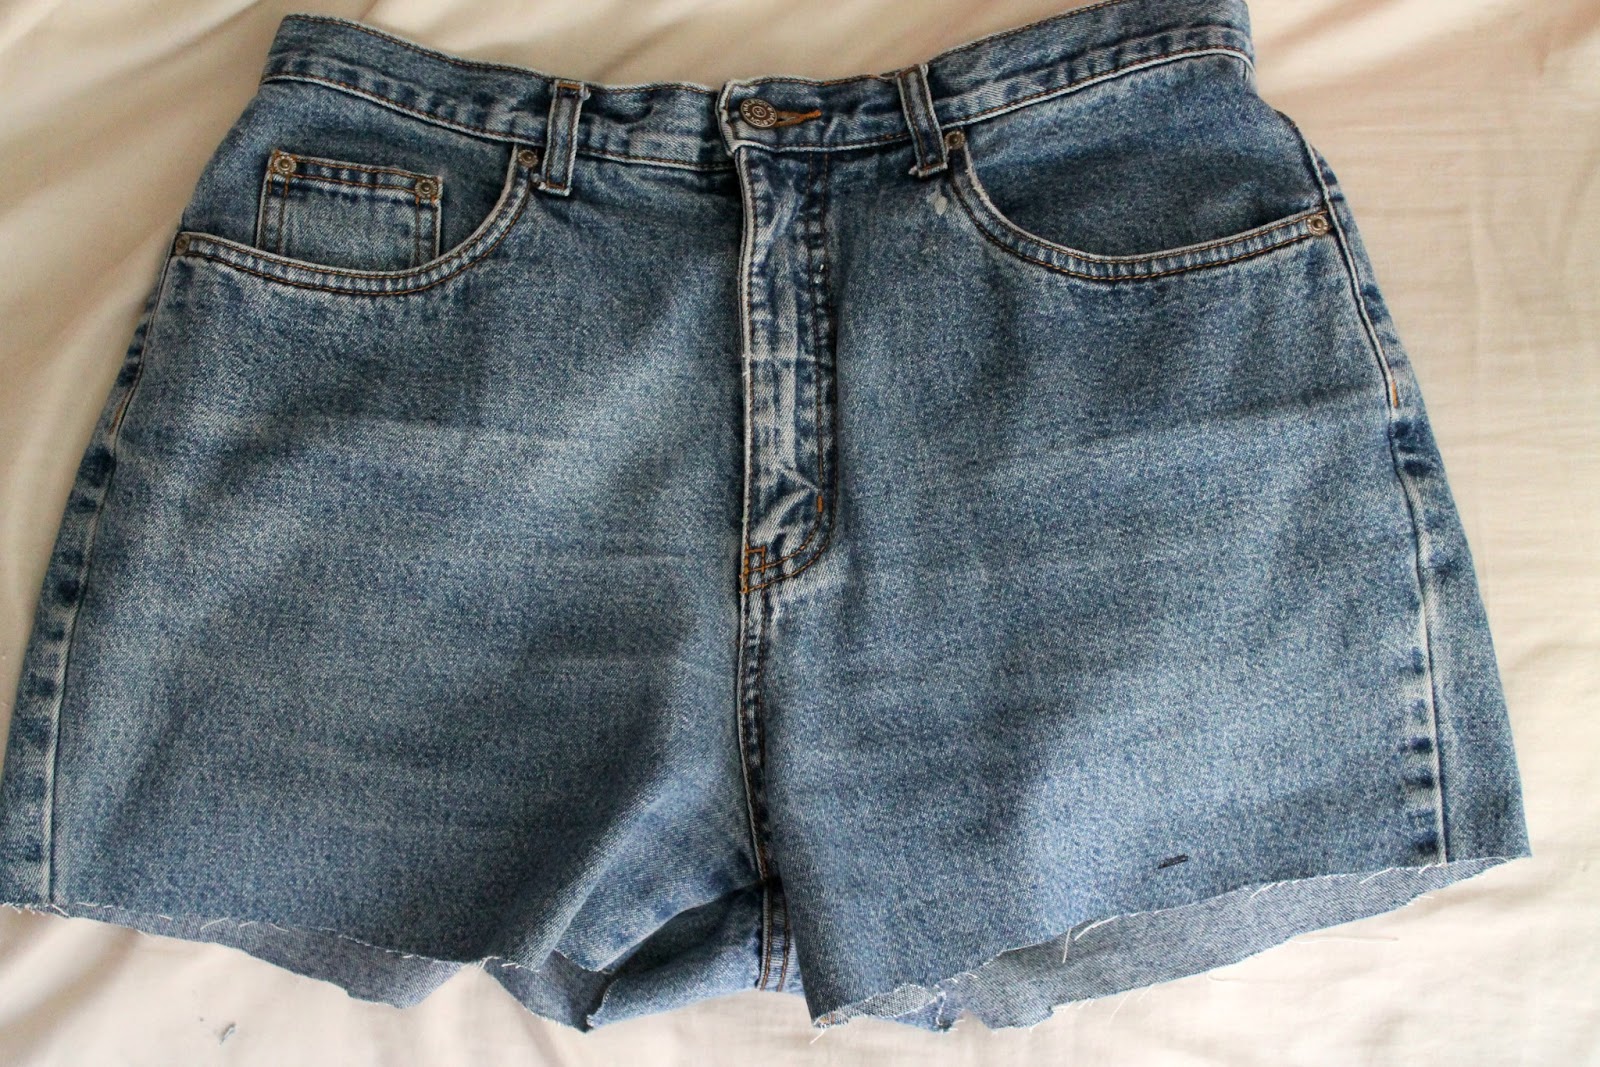
So I decided it was time I finally make a pair. I was inspired a while ago by Alyssa's post, but I never got around to making them. But today, I finally did. It's pretty simple. All you need is a pair of scissors and some "mom jeans."


If you don't exactly know what qualifies a pair of jeans as "mom jeans," look for a very long zipper like the one in this pair:


Try your jeans on and decide about what length you would like them to be. I suggest keeping them a little longer so you are able to roll them up and cuff the ends. Mark your desired length with a pen and cut!


And there you go! A cute pair of shorts.


Currently listening to:

I got another pair of jeans to make into shorts, but I think I'm going to jazz them up a little more than this pair. Stay tuned for another DIY soon!

Friday, April 26, 2013

DIY: Free People Back Pack


So I was browsing through the many items on the Free People website and I stumbled upon their Alameda Embellished Backpack. 


I thought it was beautiful, but I was not willing to spend $148 on it. So I decided to make one myself. I went to my local Hobby Lobby and bought the following:
- 1 canvas backpack
- Fabric glue
- Brown fabric paint
- Assorted ribbons and embellishments
And it came out to about $40. I also ended up buying too much decorative items so it could have been a bit less.

I started by taking my pack outside to "dye" it. The paint I got was in a spray bottle which made applying extremely easy! (Just make sure you buy enough paint)


The paint was required to air dry. Once the bag was completely dry, I tossed it into the dryer for twenty minutes to heat seal the paint. Then came the fun part! I cut my embellishments the length of the front pocket and attached with fabric glue. 


And voila! You've got a cute bag for less than half the price!


Currently listening to:

It's the perfect size to throw all of your stuff in and run out the door. It's also a great beach or yoga bag! The possibilities are endless, really!

Give this DIY a try. You won't be disappointed!

Photo cred to Madison!

Monday, April 15, 2013

DIY Denim Vest


I have had this marvelous jacket since my senior year in high school. I bought it for my Senior Dress Up Day outfit and it's safe to say it was love at first sight. It's had a good run, but I think it's time to retire it. The left sleeve is destroyed. I've caught it on too many door handles and fences. It's done.


So I decided to hack off the sleeves and add some cute embroidery thread with my mediocre sewing skills.


And I added my favorite pin that Madison gave me for Christmas. (x)


Currently jamming to:

I'm going to try some more DIY posts. I really enjoyed this one. Leave me some suggestions in the comment box!

Also, I gave Alyssa a crash course on Blogspot and her blog is now up and running. Check her out! @bigbowsbigbooks

I hope you all have a great Monday!